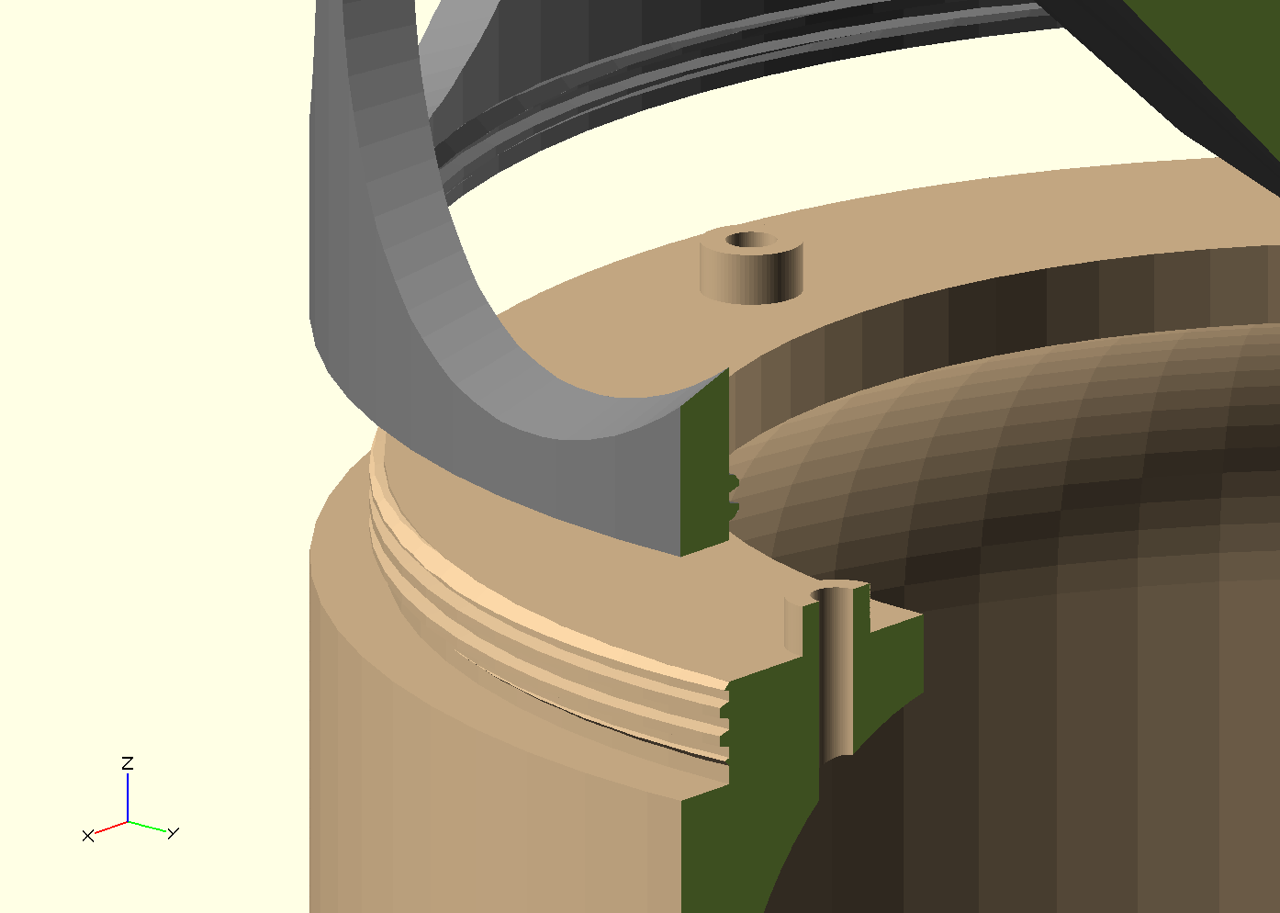
Close-up of Model 2's new threads...
I'm not sure how the idea of using threads to replace magnets came to me, but I'm sure the reason I didn't consider it in the first place is because with other materials threads are hard. However with 3D printing, threads are just a few more lines of code.
Leveraging the unique capabilities of 3D printing is central to my design philosophy for KGL Audio. One of the reasons I selected this material is the ability to rapidly iterate on and test a design. When designing speakers, there are formulas to follow but they only get you so far (especially if you want to try new things). Experimentation is a big part of making a great speaker, but when using traditional building techniques each experiment is a lot of work. With 3D printing, I can make a change to the design and have a testable part in a couple hours (and during those hours I can work on something else while the robots do their thing).
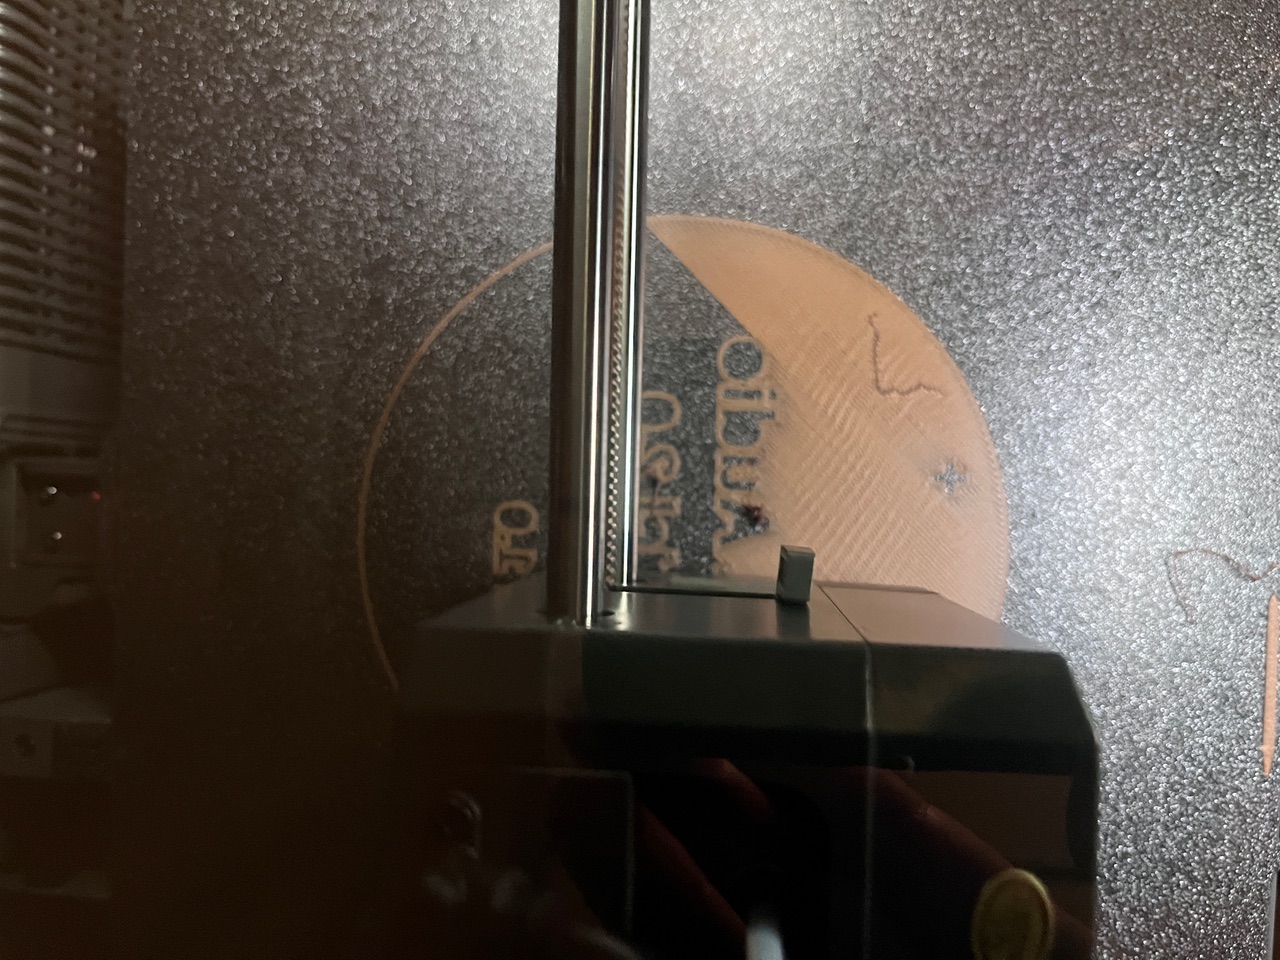
3D printing makes it easy to label each iteration with the details of it's variations.
This morning I was lying in bed thinking about how I want to test the new threads (sometimes it takes a few tries to get all the parameters right) and one way I do this sort of thing is print "slices" of a part, small parts of the pieces I need to test, instead of the entire thing. This way I can quickly iterate and also waste less time material. I'm not sure if that's why this next thing popped-into my head or if it was just some other random thing but I realized that I could used a threaded part to speed-up my iterations on tuning the speaker as well.
The Model 2 is a sealed, "acoustic suspension" design so there's one primary variable to adjust when dialing-in the desired sound: the volume of the chamber behind the driver. I'm using traditional parameters and formulas as a starting point, but even with that there's no single "right" answer so I have been to printing several versions of the design with varying amounts of chamber volume and then testing each to see what sounds the best. While this is faster than building several cabinets by hand, it's still slow and by it's nature requires picking a "step-size" that limits the granularity of the adjustments that can be tested.
What came to me this morning is that I could use the same thread-based approach to make the volume of the chamber adjustable. The Model 2 is a cylindrical design, and as such I change the length of the cylinder to adjust the volume of the chamber (it's literally a variable in the OpenSCAD file). What I realized this morning is that instead of adjusting the variable and printing multiple parts, I could simply thread the entire inside of the chamber and replace the bottom with a threaded plug. This way I could print one (well, two) parts and then literally "dial-in" the sound.
This might not be perfect in that the threads are likely to leak some amount of air, and it's possible that the threaded plug might rattle or produce some other bad vibrations. But as a testing fixture, those are things I can work-around and the time and material savings make it absolutely worth the trade-off.
Another hang-up when designing speakers is that the parameters you use to feed the formulas can vary not only between one model of driver and another but also between individual copies of a specific driver model itself. Manufacturers publish parameters and specifications for each model of driver they make, but minute differences in materials and variations introduced by the mass-production process mean that each individual part can vary from the published specifications. Most speaker designs have to compromise here and choose a design that is "close enough", but some designers will measure the parameters of each driver manually and produce a custom cabinet that matches the individual driver's actual parameters. The results are fantastic, but as you can imagine, the result is a rare and expensive product.
The adjustable chamber makes this a lot more practical. At design-time it means I can try different models of driver and dial-in the volume based on their published specifications, but I could also measure the parameters of the specific components I use and dial-in the volume for that specific component. I said earlier that I'd probably only use this threaded plug system for testing and finding the right volume for "production", but I can imagine a "custom" version of the Model 2 as well that uses the threaded plug approach to find the ideal volume for the specific driver used, then glue the plug in place so that the concerns about sealing, vibration, etc. are eliminated. Each one of these would be a one-of-a-kind unit, and it could not only be dialed-in for the measured parameters of the driver used, it could also be adjusted to match the customers preferences or matched to other components in a very precise way.
The other thing the threaded plug could be used for is experimenting with printable "batting" material. Most speakers contain some amount of "batting" that helps dampen reflected sound and effectively increases the internal volume of the cabinet (this is useful when you want to keep the overall dimensions of the cabinet compact). So far I haven't used any of this in my designs, primarily because I don't want to add it to the BOM and I have compensated by using a larger chamber volume. But I've been wondering about ways to print something that provides the benefits of batting, and while I don't think literally printing fiber batting is the best answer I'm wondering if there are geometries that might provide similar benefits? I need to learn more about why batting helps and how it works and see if there are other things that have been tried but are maybe impractical for traditional designs or materials, because they might be more practical through 3D printing, but I haven't had a chance to learn all this yet. The threaded plug could be a way to experiment with this by applying such a surface to the inward-facing surface of the plug. That surface is the one opposite of the driver, which is the most important surface to apply batting to. Printing many variations of the plug is much faster and less wasteful than printing variations of the entire speaker cabinet, which makes experimenting with ways to make such a thing printable much more reasonable.
The threaded chamber enables a range of other experiments as well. It could be used to experiment with other types of cabinets such as bass reflex and transmission line designs as the chamber could be extended by replacing the threaded plug with another chamber section with a threaded top. It also could be used as a way to attach a speaker stand so the opening of the baffle is parallel with the listener's ears (I've found this to be the best way to listen to this design). Finally this large, strong threading at the base might be usable for a future design I'm noodling on that incorporates multiple KGL Audio components into a portable "boombox" form. There's a lot of possibilities...
That leaves the tattooed part.
Since the beginning I considered leveraging the 3D printed nature of this design to allow a level of personalization that is normally impractical in speaker design, but I kind of set this aside because even with 3D printing there are some economies of scale that make standardization reduce costs. I want the components I design for KGL Audio to be affordable enough that anyone who cares about sound can afford them without having to make great sacrifices elsewhere in their life (this is a big part of the "live with" part of the "Good sound you can live with" slogan). That said the ideas I've had this morning that allow each individual speaker produced to be dialed-in to the components it's built from and similarly customized to the listener's preferences and the system they will be used in makes me think I should at least consider a "custom" option that makes these customizations available to people who think they are worth it. Custom-tuned units like these would not be produced in batches, which opens-up the possibility of other customizations like "engraving" designs into the cabinet as an additional level of personalization. This makes other customizations are possible as well such as color, material, etc. This would be a much more labor-intensive process and would therefore require a higher cost to make sure workers are compensated accordingly, but if there is an audience for such things I might consider it in addition to the "standard" models.
I'm really excited to get some more time at the print shop and test-out these changes. This combination of design-time dynamics, rapid iteration and post-manufacturing modularity allow me to leverage the skills and experience from my software engineering career in this new, seemingly unrelated adventure of designing a line of audio components.
Jason J. Gullickson, 2026