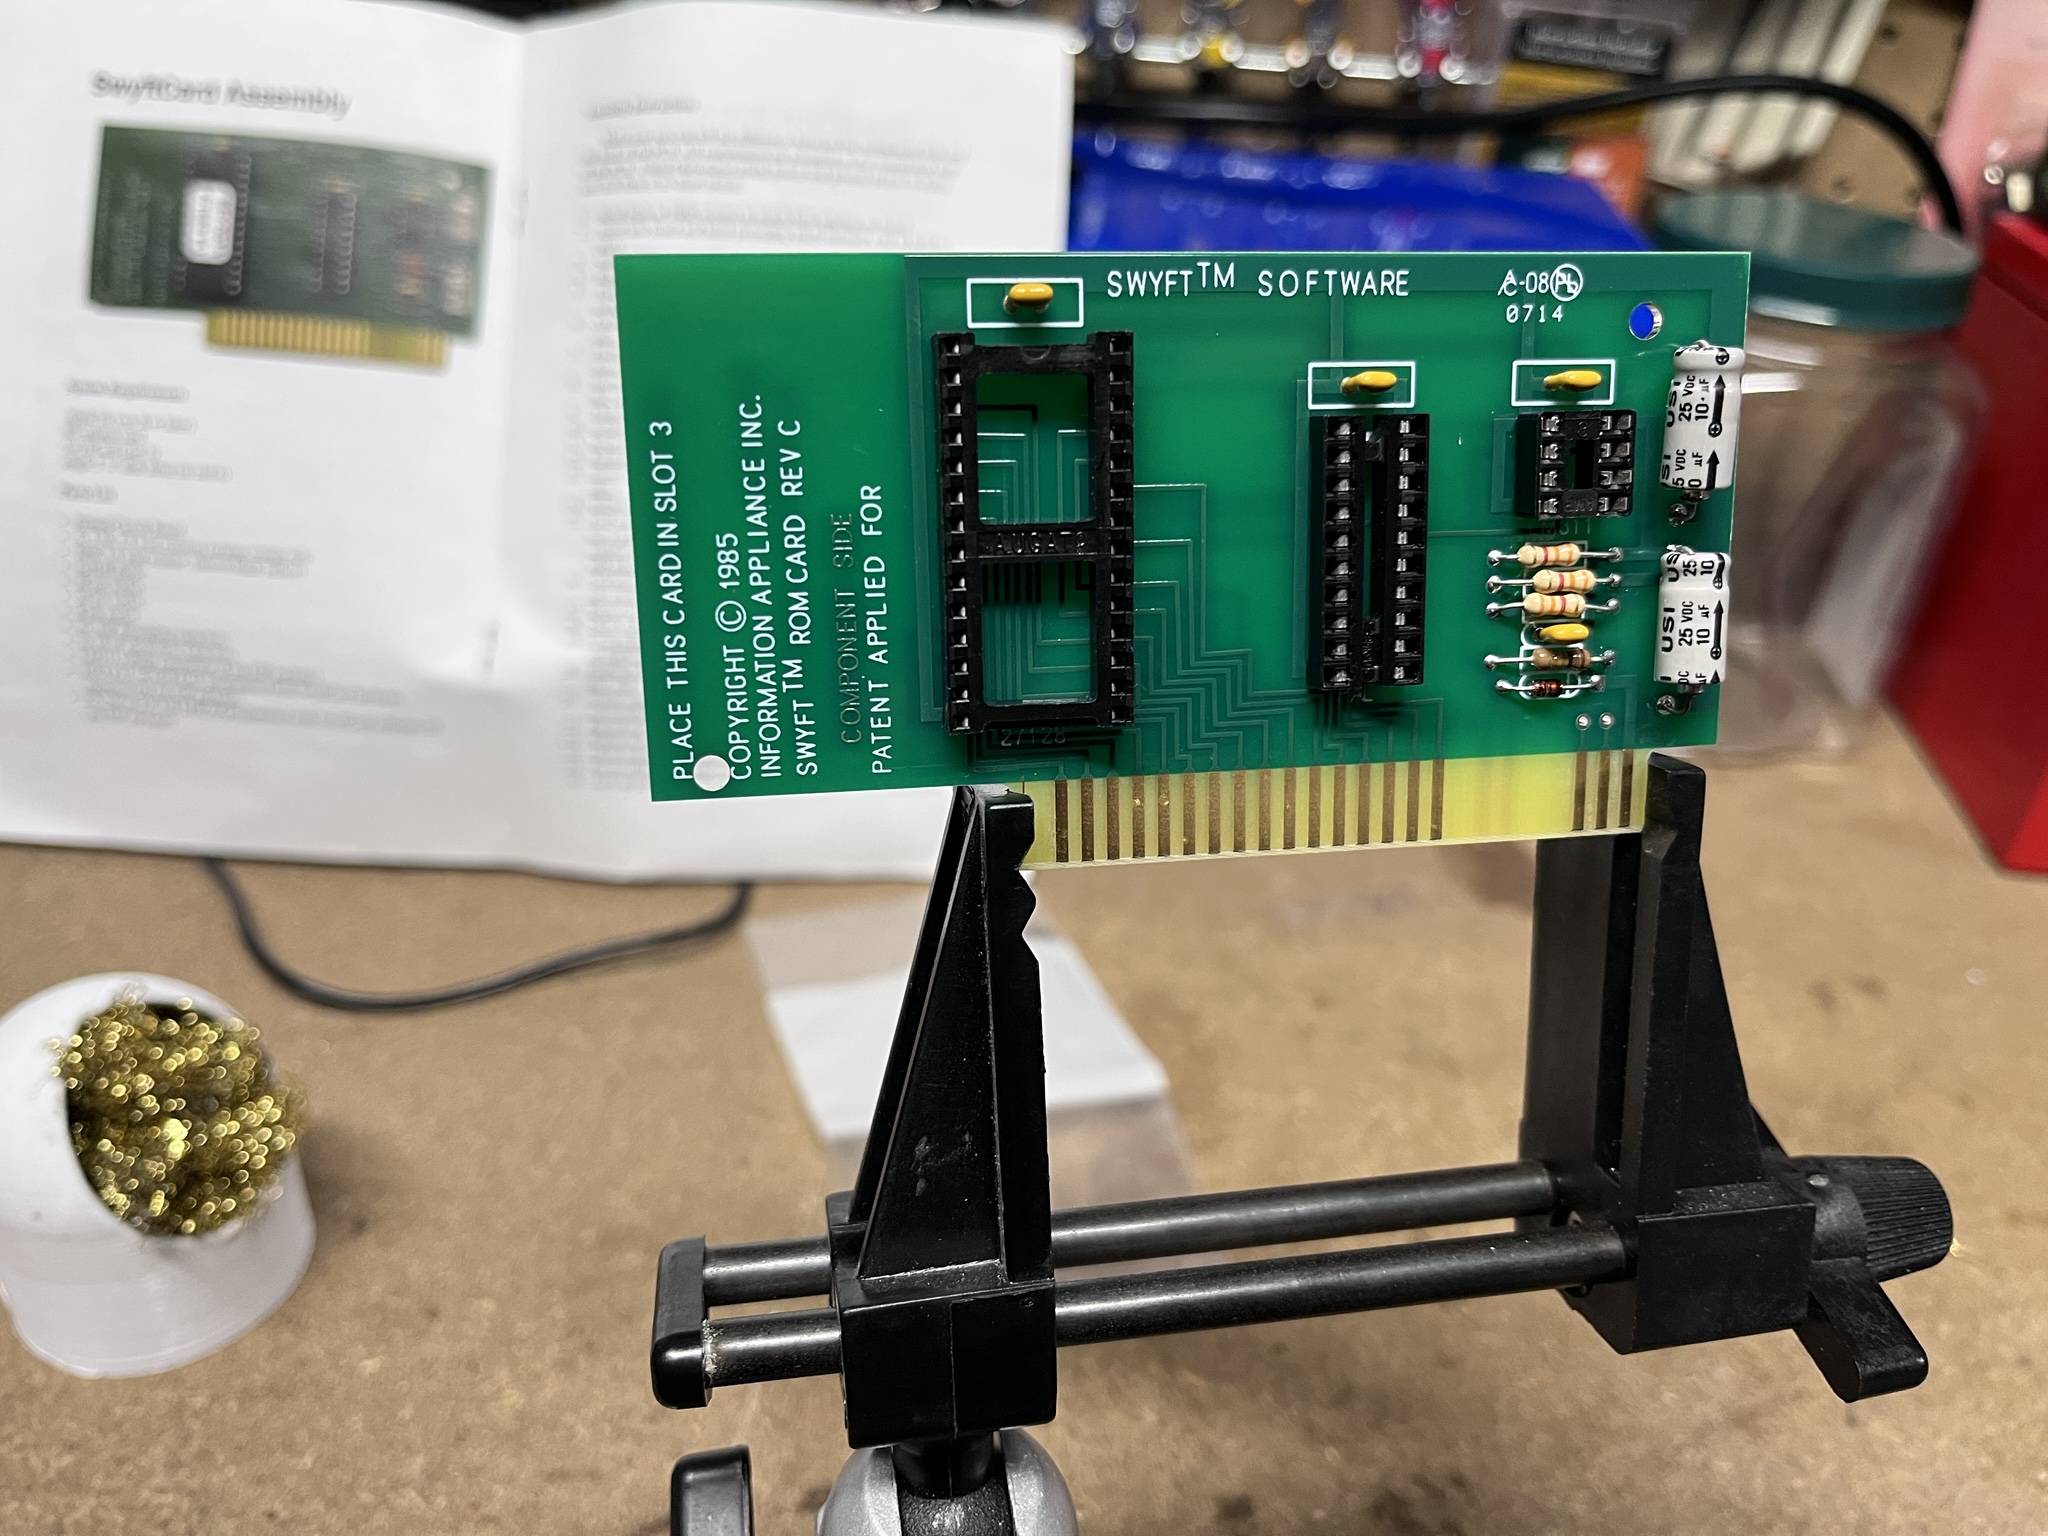
I got a chance to assemble and test Mike's SwytftCard replica kit today. The kit is great and only took about a half-hour to solder it up.
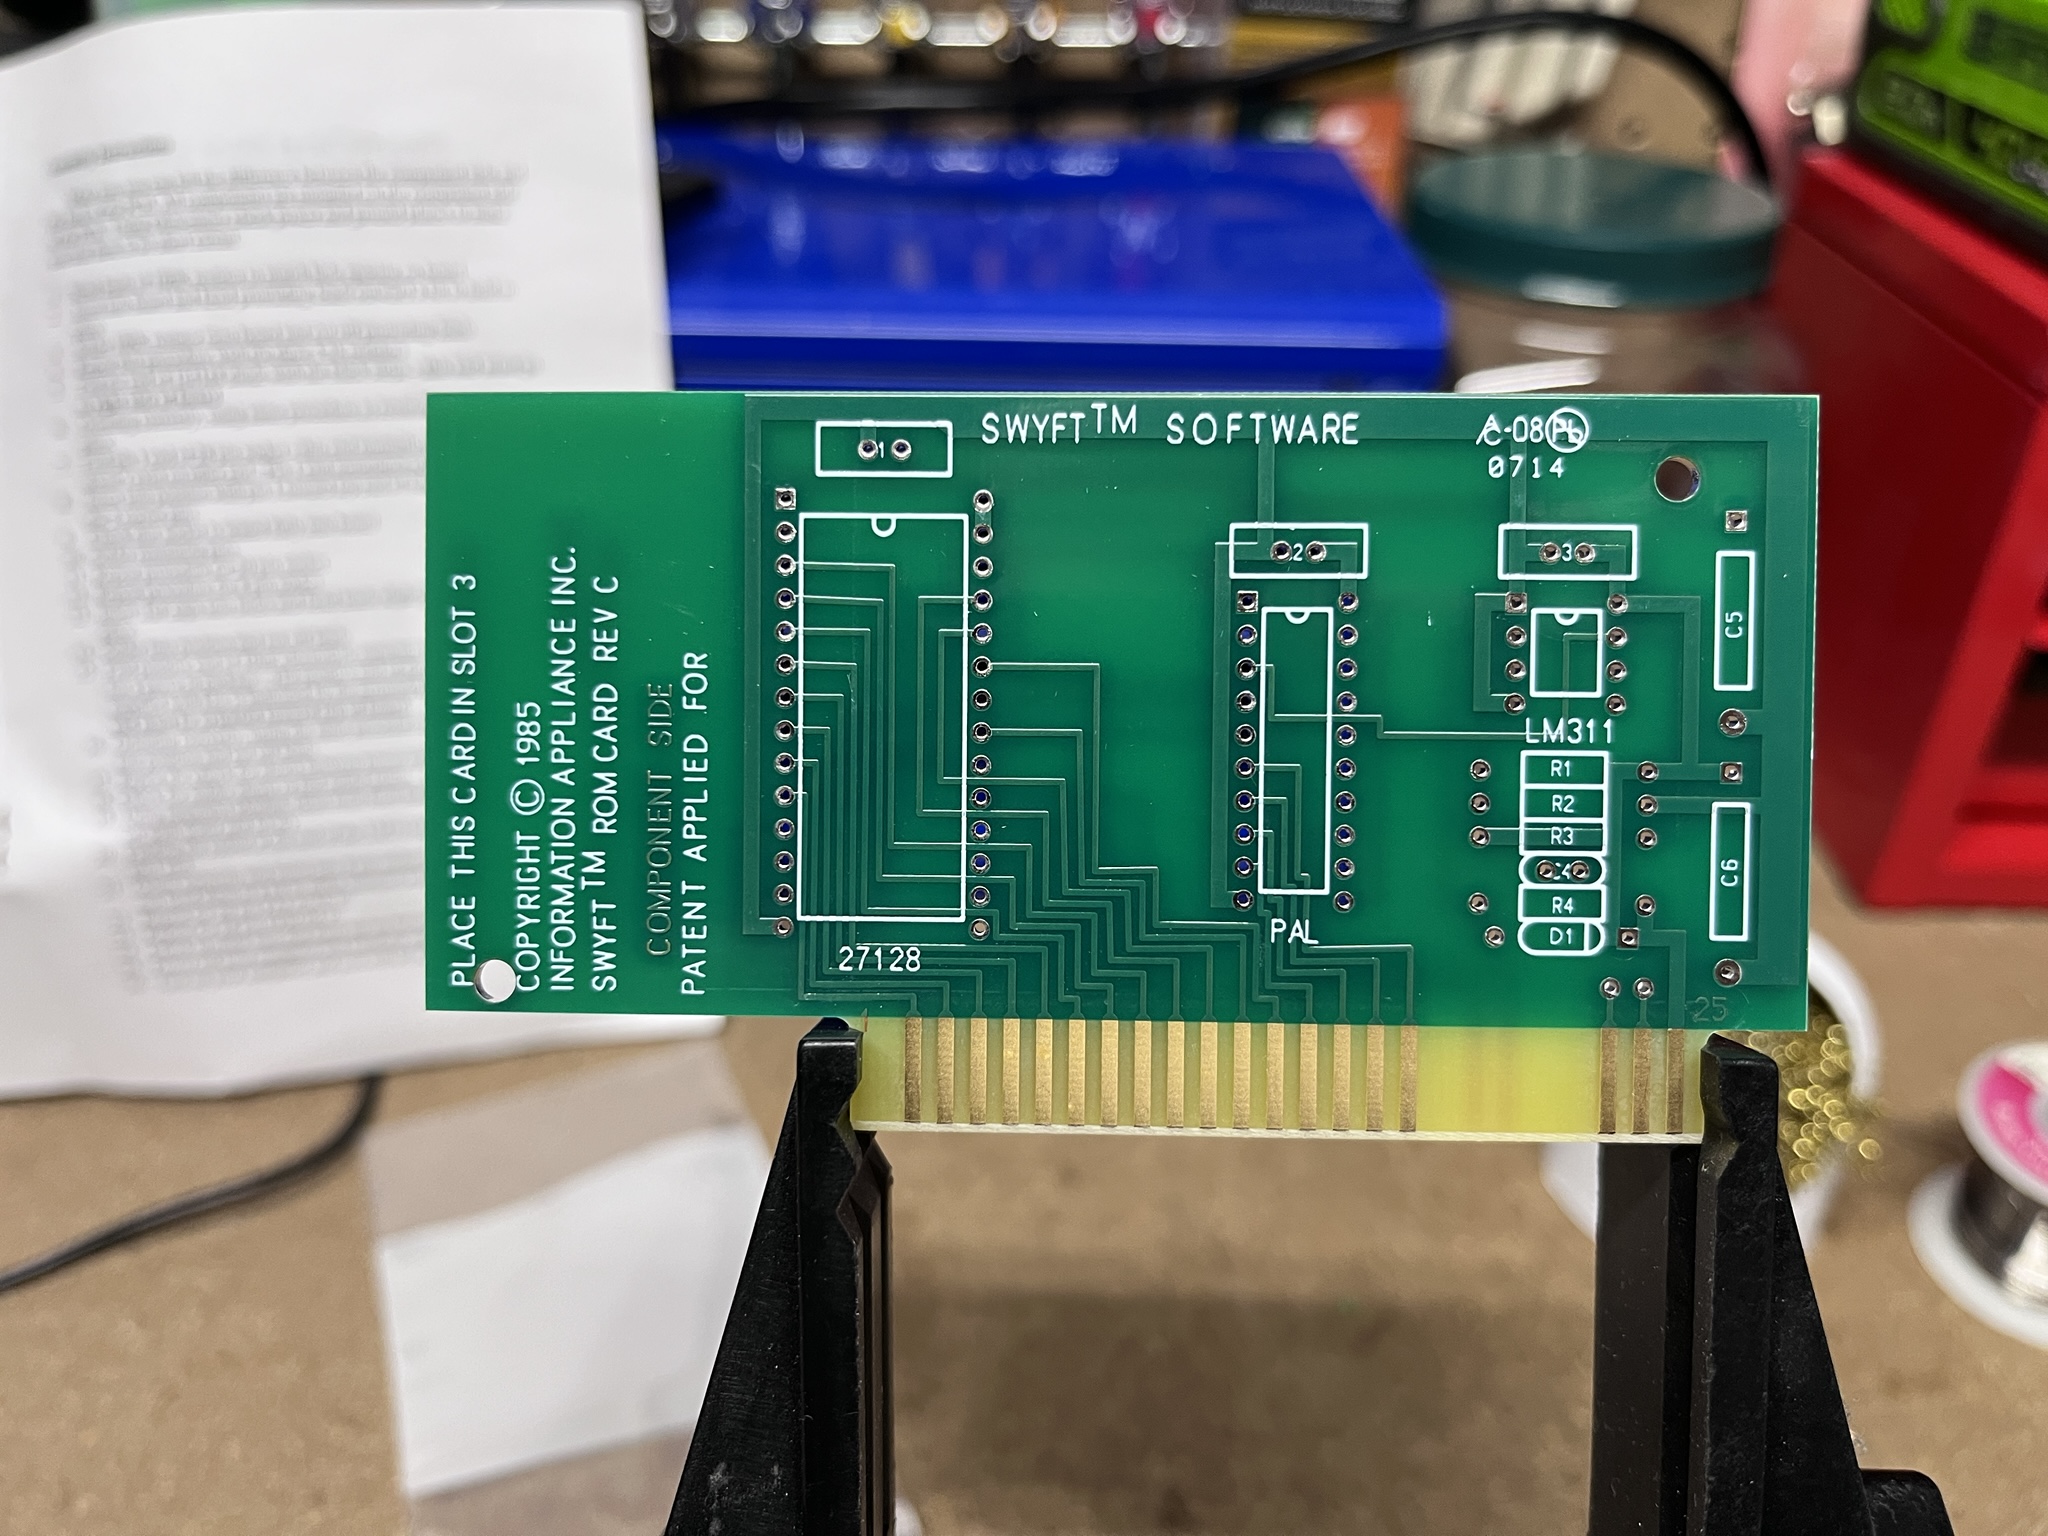
The kit comes with a little booklet with both assembly and usage instructions. On the assembly side it's very complete and easy to follow, my only suggestion would be to add the schematic component keys (R1, C2, etc.) to the parts list. For the most part it's pretty obvious which parts go where but I did find myself second-guessing the very first component in the build because it was the first of four resistors to be installed but this first part is actually R4 on the circuit board.
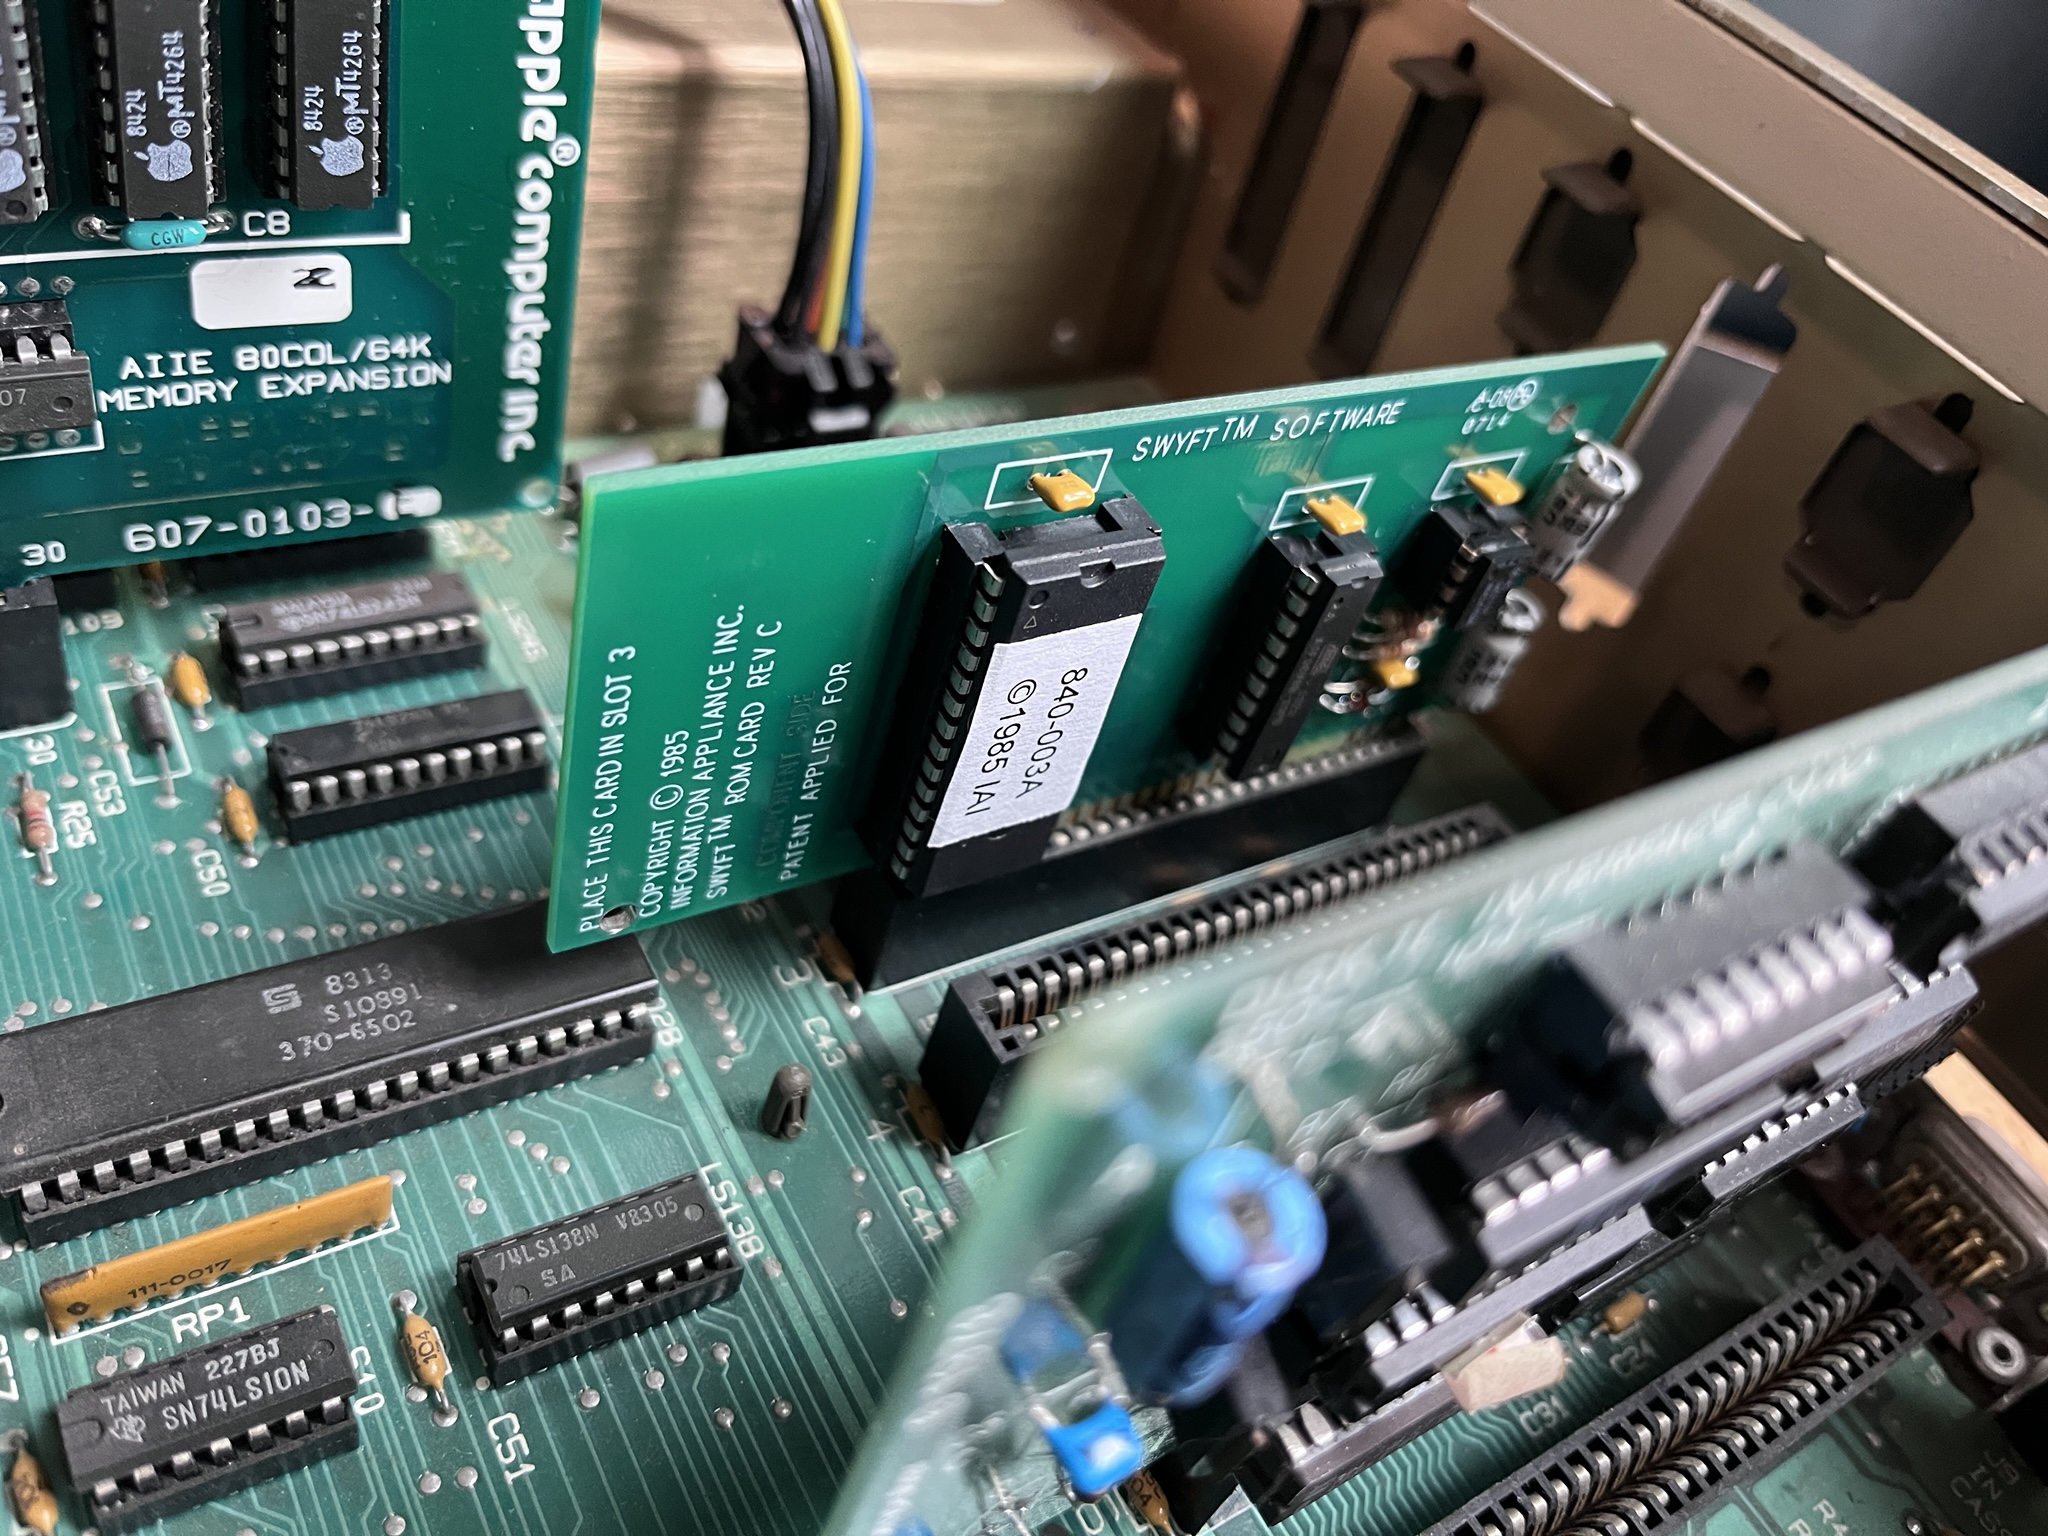
I must admit I was a little nervous about the first power-up since there's a chance that if I did something wrong I'd not only smoke the SwytftCard but possibly my whole Apple //e as well...
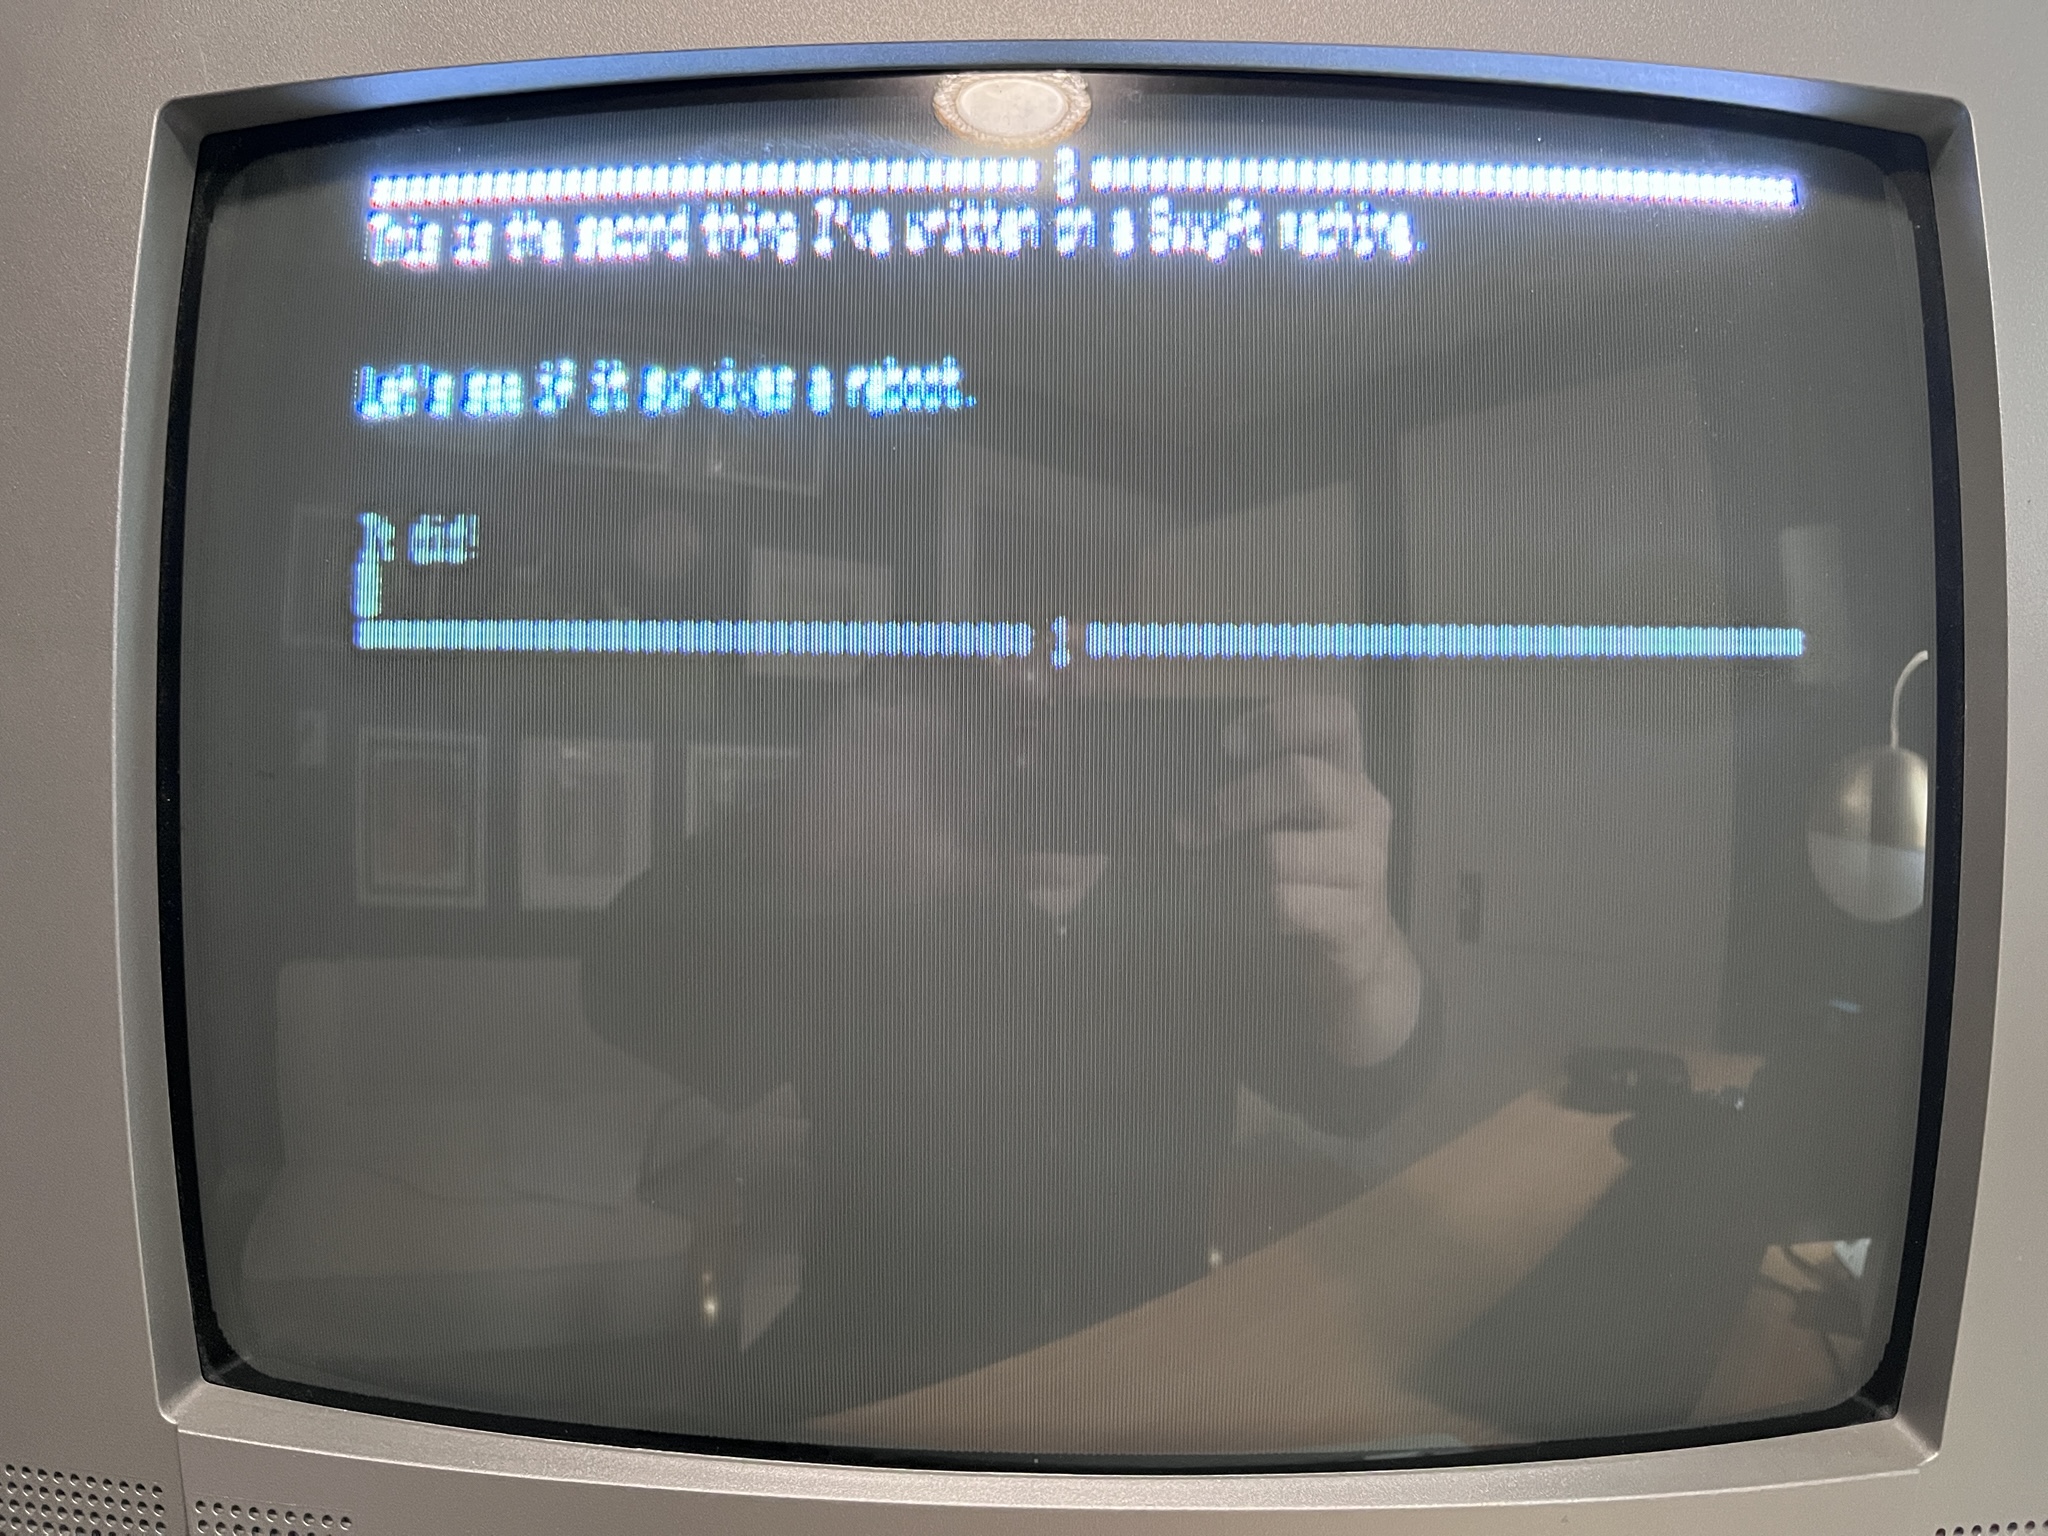
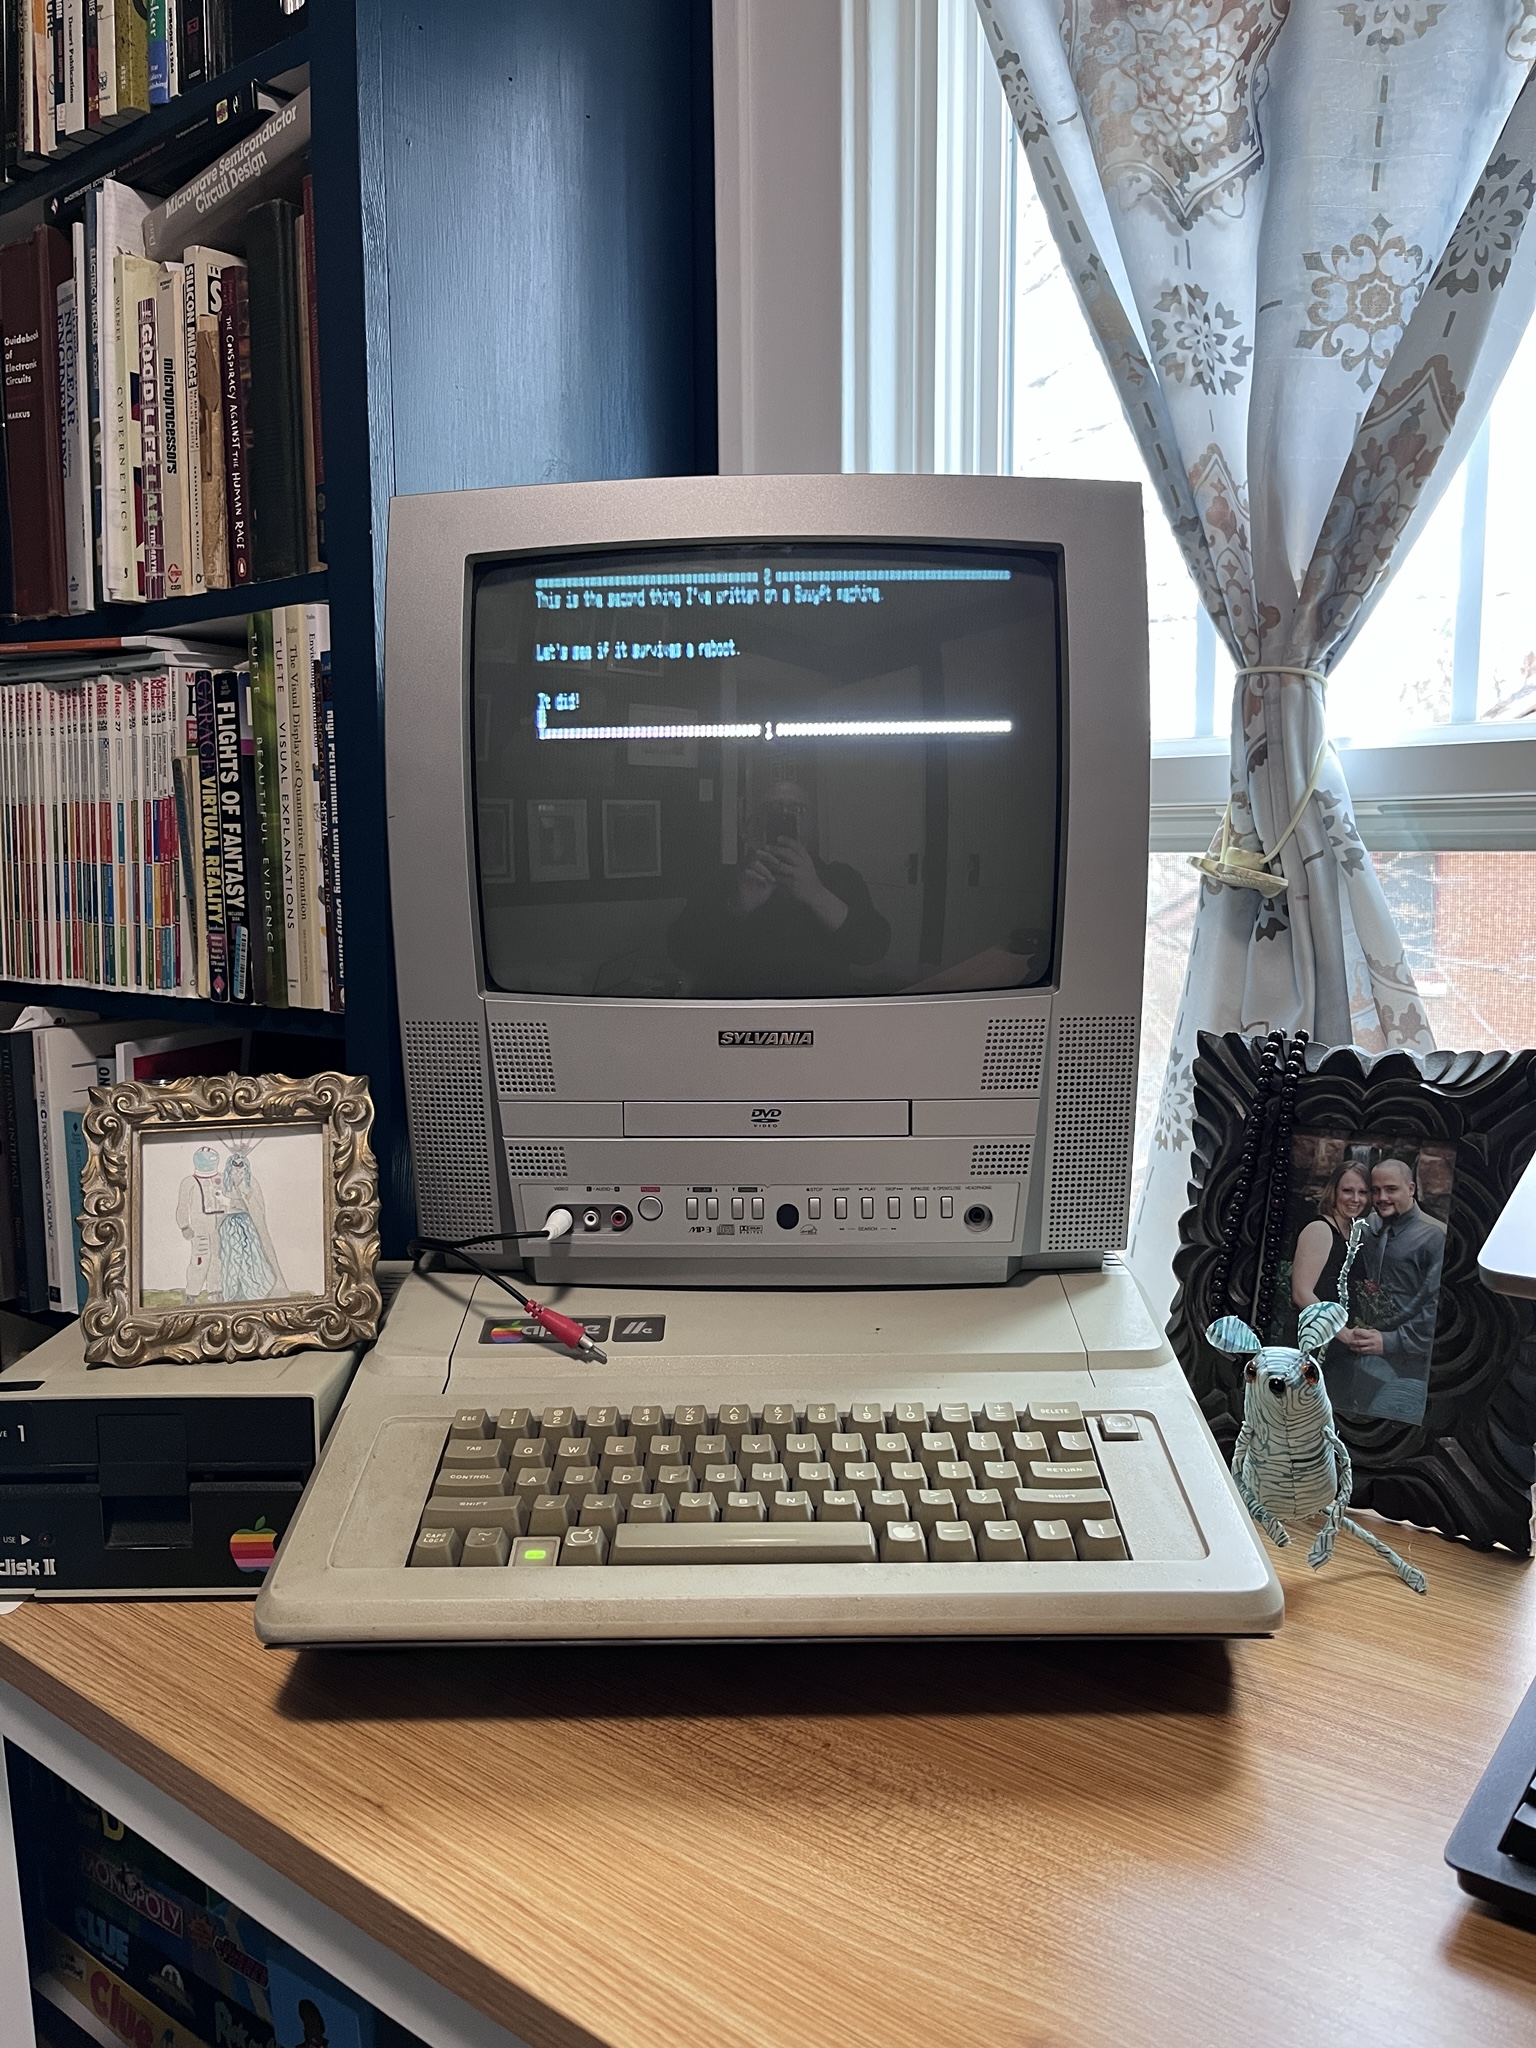
Fortunately applying power released no blue smoke and I was greeted with a "beep", a flash of a startup message and an empty document!
The basic guide included with the kit has most of what you'll need to get started with the SwyftCard with one exception. Unless you happen to have a blank 5.25" floppy disk, you'll need to initialize an existing one before the SwyftCard will let you save your work. The process for doing so is documented in the full SwyftCard manual, but I think this would make a good addition to the kit's included guide as well.
FOLLOWING THESE STEPS WILL DESTROY ANYTHING ON THE DISK YOU STICK IN THE FLOPPY DRIVE. YOU HAVE BEEN WARNED!
1. Insert the disk you want to format into the first floppy drive
2. Type the following (I used all caps, I'm not 100% sure matters):
CALL 3600
3. Highlight the text by pressing both LEAP keys (open-apple and closed-apple, the keys on the left and right of the space bar) at the same time
4. Hold USE FRONT (Control) and press CALC (the letter G)
5. Delete CALL 3600
That's it. Now after typing some stuff press USE FRONT (Control) + DISK (L) and whatever you typed will be saved to disk. If you boot the machine with this disk in the drive, the text will load automatically and you can start working exactly where you left off.
What's Next?
I can't convey how excited I am to start working with this system. There are still a few more steps I need to complete before I can really do that, the main one being swapping the TV set I'm using for a monitor with a "real" composite monitor that can correctly display 80-column text (the TV works well enough to confirm things are working, but it's not very readable).
The second thing I'd like to do is add a serial card to the Apple //e so I can experiment with the other I/O features (other than disk I/O) of the SwyftCard. These were originally intended for printing and communicating with other systems (both other SwyftCard systems and other types, such as BBS's reachable by serial or modem connections). There are a lot of devices and services that are accessible via serial-type connections that I'd like to experiment with using from the SwyftCard environment.
Jason J. Gullickson, 2026